Introduction
Recently, I had to create a custom context menu for my project. In my organization, we use Angular Material. When I searched online, I found many ways to create it. However, I used a few approaches that worked well for me.
Approach
These are the approaches I had in mind:
-
Using
mat-menu -
Using
mat-dialog
Before proceeding further, here is the project setup:
| Package | Version |
|---|---|
| Angular | v17 |
| Node | v18.17.1 |
| NPM | v9.6.7 |
Using Angular Material Menu
In this article, I will explain how to use the Angular mat-menu to create a custom component. The mat-menu component is very easy to configure and use, which is why I chose this approach.
Create a custom component context-menu and put the below HTML snippet.
context-menu-component.html
<div [matMenuTriggerFor]="contextMenu" style="visibility: hidden; position: absolute;" [style.left]="left"
     [style.top]="top"></div>
<mat-menu #contextMenu="matMenu">
  <button mat-menu-item>Item 1</button>
  <button mat-menu-item>Item 2</button>
  <button mat-menu-item>Item 3</button>
</mat-menu>
In above code snippet:
-
Create a mat-menu with your desired buttons and button groups.
-
I have added a
divwhich works as the trigger / container for menu to open. I have addedleftandtop, to control the position of the menu to appear as thediv.
context-menu-component.ts
export class ContextMenuComponent implements AfterViewInit, OnDestroy {
  @ViewChild(MatMenuTrigger) menuTrigger!: MatMenuTrigger;
  @Input() top!: string;
  @Input() left!: string;
  @Input() showContextMenu!: Observable<boolean>;
  showContextMenuSubscription?: Subscription;
  ngAfterViewInit() {
    this.showContextMenuSubscription = this.showContextMenu.subscribe({
      next: (show) => show && this.menuTrigger.openMenu()
    });
  }
  ngOnDestroy() {
    this.showContextMenuSubscription?.unsubscribe();
  }
}
I have added three inputs, top, left, and showContextMenu. As mentioned earlier, top and left are used to control the position of the menu and showContextMenu controls when to open the menu.
Here MatMenuTrigger is referred using @ViewChild and the template contains the hidden div. This is the reason for having a hidden div.
In app-component.html, add contextmenu event to anything. In this event listener, note down the click location clientX and clientY.
app-component.html
<app-context-menu [left]="left" [top]="top" [showContextMenu]="showContextMenu.asObservable()"></app-context-menu>
<div style="display: grid; place-items: center;">
  <div style="width: 75%; height: 20rem; margin-top: 10rem; background-color: #ccc; position: relative;" (contextmenu)="openContextMenu($event)">
    <span
      style="font-size: 1.2rem;opacity: 0.5; display: flex; flex-direction: column; align-items: center; justify-content: center; width: 100%; height: 100%">Right Click in highlighted area to open the context menu</span>
  </div>
</div>
app-component.ts
export class AppComponent {
  top = '0';
  left = '0';
  showContextMenu = new BehaviorSubject(false);
  openContextMenu(event: MouseEvent) {
    event.preventDefault();
    this.top = event.clientY + 'px';
    this.left = event.clientX + 'px';
    this.showContextMenu.next(true);
  }
}
As you can see, a contextmenu event is registered on a div. The app-context-menu has a listener which first
-
Prevents the default behavior
-
Sets the
clientXandclientYtotopandleftrespectively -
Emits an event to
showContextMenuis true.
When user right-click on the specified zone, you will get a context menu with your custom menu items.
Prototype:
You can check the complete code at Github
The outcome of this component looks like this:
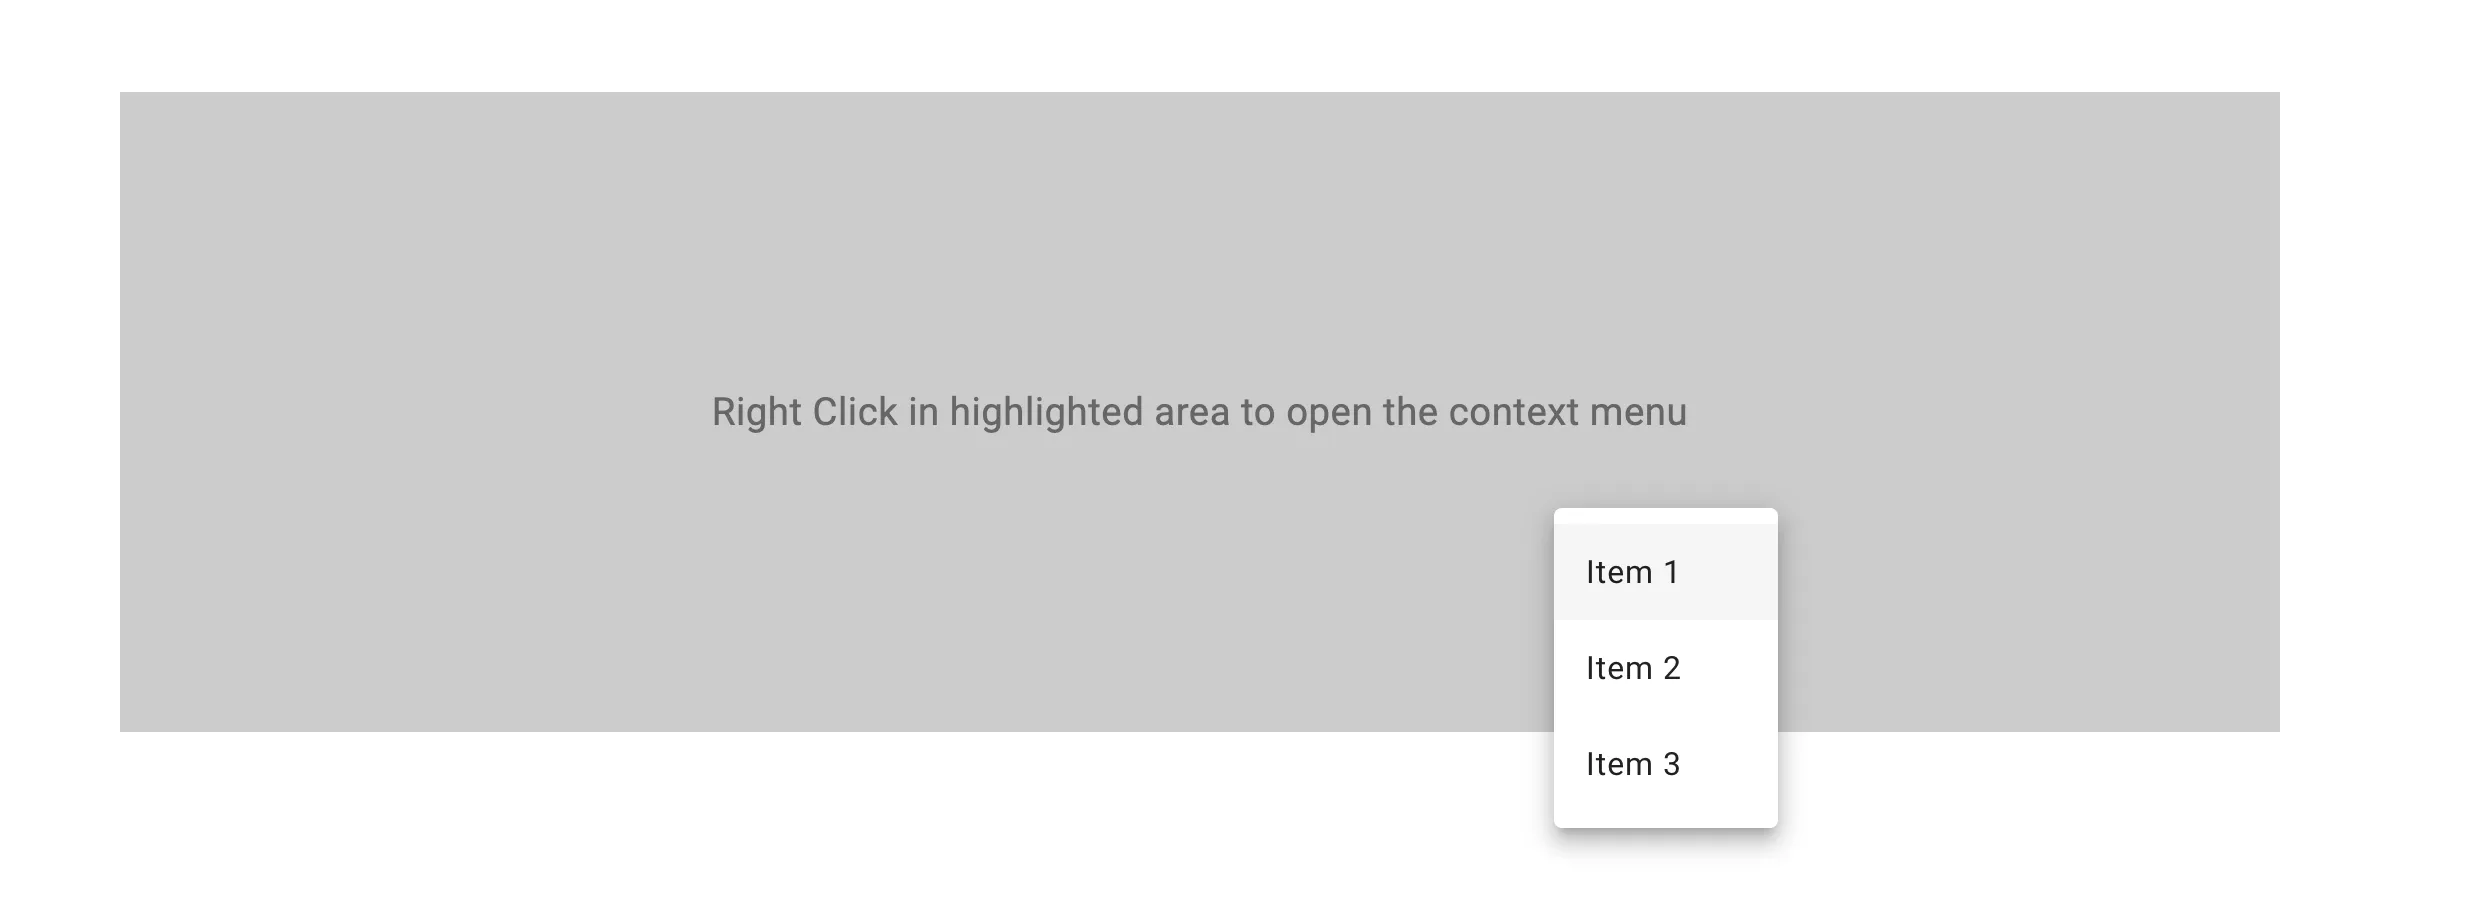
As you see here, the custom context menu will not appear in the outer part of the zone shown above.
Feel free to comment. Thanks for your time.